Every webpage resides inside a browser window which can be considered as an object.
A Document object represents the HTML document that is displayed in that window. The Document object has various properties that refer to other objects which allow access to and modification of document content.
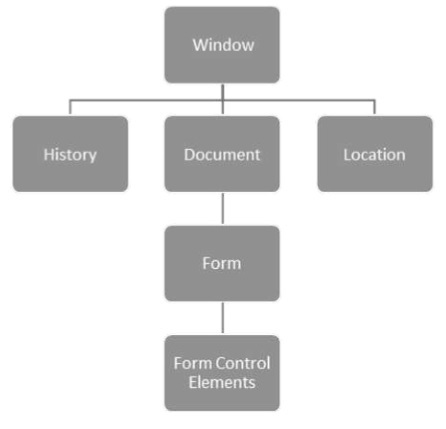
The way a document content is accessed and modified is called the Document Object Model, or DOM. The Objects are organized in a hierarchy. This hierarchical structure applies to the organization of objects in a Web document.
- Window − Top of the hierarchy. It is the outmost element of the object hierarchy.
- Document − Each HTML document that gets loaded into a window becomes a document object. The document contains the contents of the page.
- Elements − represent the content on a web page. Examples include the text boxes, page title etc.
- Nodes − are often elements, but they can also be attributes, text, comments, and other DOM types.
Here is a simple hierarchy of a few important DOM objects −
Dart provides the dart:html library to manipulate objects and elements in the DOM. Console-based applications cannot use the dart:html library. To use the HTML library in the web applications, import dart:html −
import 'dart:html';
Moving on, we will discuss some DOM Operations in the next section.
Finding DOM Elements
The dart:html library provides the querySelector function to search for elements in the DOM.
Element querySelector(String selectors);
The querySelector() function returns the first element that matches the specified group of selectors. “selectors should be string using CSS selector syntax as given below
var element1 = document.querySelector('.className');
var element2 = document.querySelector('#id');
Example: Manipulating DOM
Follow the steps given below, in the Webstorm IDE −
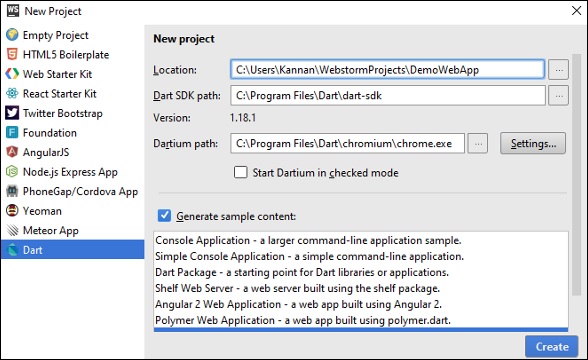
Step 1 − File NewProject → In the location, provide the project name as DemoWebApp.
Step 1 − In the section “Generate sample content”, select SimpleWebApplication.
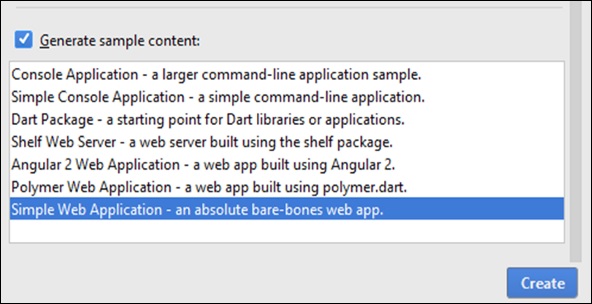
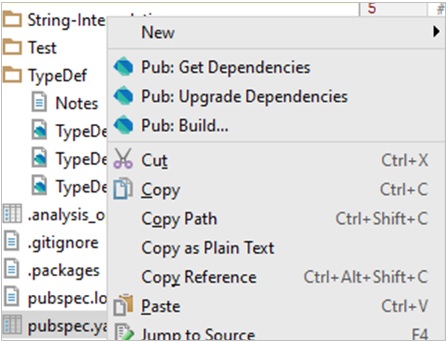
It will create a sample project, DemoWebApp. There is a pubspec.yaml file containing the dependencies which need to be downloaded.
name: 'DemoWebApp'
version: 0.0.1
description: An absolute bare-bones web app.
#author: Your Name <[email protected]>
#homepage: https://www.example.com
environment:
sdk: '>=1.0.0 <2.0.0'
dependencies:
browser: '>=0.10.0 <0.11.0' dart_to_js_script_rewriter: '^1.0.1'
transformers:
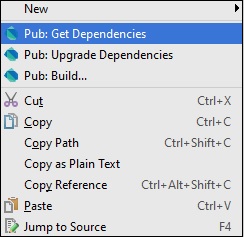
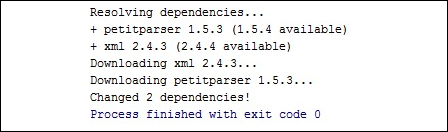
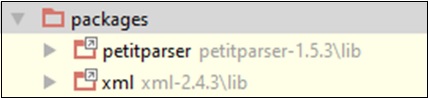
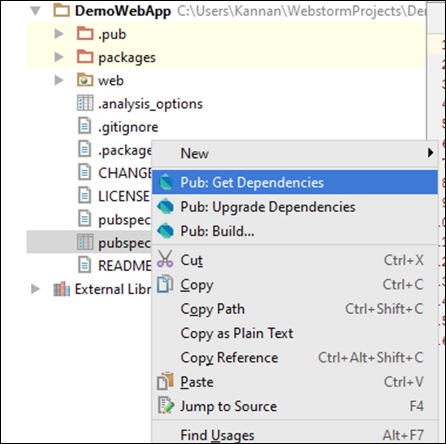
- dart_to_js_script_rewriter If you are connected to Web, then these will be downloaded automatically, else you can right-click on the pubspec.yaml and get dependencies.
In the web folder, you will find three files: Index.html, main.dart, and style.css
Index.html
<!DOCTYPE html>
<html>
<head>
<meta charset = "utf-8">
<meta http-equiv = "X-UA-Compatible" content = "IE = edge">
<meta name = "viewport" content = "width = device-width, initial-scale = 1.0">
<meta name = "scaffolded-by" content = "https://github.com/google/stagehand">
<title>DemoWebApp</title>
<link rel = "stylesheet" href = "styles.css">
<script defer src = "main.dart" type = "application/dart"></script>
<script defer src = "packages/browser/dart.js"></script>
</head>
<body>
<h1>
<div id = "output"></div>
</h1>
</body>
</html> Main.dart
import 'dart:html';
void main() {
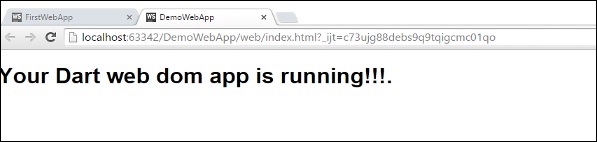
querySelector('#output').text = 'Your Dart web dom app is running!!!.';
} Run the index.html file; you will see the following output on your screen.
Event Handling
The dart:html library provides the onClick event for DOM Elements. The syntax shows how an element could handle a stream of click events.
querySelector('#Id').onClick.listen(eventHanlderFunction);
The querySelector() function returns the element from the given DOM and onClick.listen() will take an eventHandler method which will be invoked when a click event is raised. The syntax of eventHandler is given below −
void eventHanlderFunction (MouseEvent event){ }
Let us now take an example to understand the concept of Event Handling in Dart.
TestEvent.html
<!DOCTYPE html>
<html>
<head>
<meta charset = "utf-8">
<meta http-equiv = "X-UA-Compatible" content = "IE = edge">
<meta name = "viewport" content = "width = device-width, initial-scale = 1.0">
<meta name = "scaffolded-by" content ="https://github.com/google/stagehand">
<title>DemoWebApp</title>
<link rel = "stylesheet" href = "styles.css">
<script defer src = "TestEvent.dart" type="application/dart"></script>
<script defer src = "packages/browser/dart.js"></script>
</head>
<body>
<div id = "output"></div>
<h1>
<div>
Enter you name : <input type = "text" id = "txtName">
<input type = "button" id = "btnWish" value="Wish">
</div>
</h1>
<h2 id = "display"></h2>
</body>
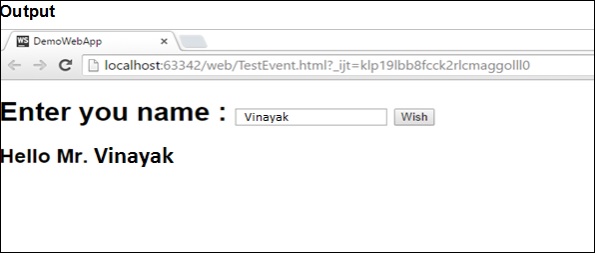
</html>TestEvent.dart
import 'dart:html';
void main() {
   querySelector('#btnWish').onClick.listen(wishHandler);
}
void wishHandler(MouseEvent event){
   String name = (querySelector('#txtName')  as InputElement).value;
   querySelector('#display').text = 'Hello Mr.'+ name;
}
Output